This article explains exactly what happens during a professional mold inspection in Singapore, from the initial walkthrough to moisture meter and thermal imaging checks to the final report. It’s written for HDB, condo, and landed homeowners who notice a musty smell, damp patch, or past water damage and want to know what a proper inspection actually involves before they book one.
Table of Contents
Quick answer: A professional mold inspection in Singapore typically takes 1–2 hours for a residential property and combines a visual walkthrough with moisture meter and thermal imaging readings to map out dampness you can’t see. You’ll get a written report the same day, covering affected areas, the likely moisture source, and next steps. The basic visual inspection is free, with paid tiers ($200–$1,000+) only kicking in if moisture mapping or lab testing is needed.
What Is a Mold Inspection?
A mold inspection (also spelled mould inspection) is a systematic check of your property to find active mold growth, identify the moisture source feeding it, and assess how far it has spread — including into places you can’t see, like inside wall cavities or under flooring.
It’s different from simply spotting a dark patch on the ceiling and calling it done. A proper inspection looks at the whole picture: where the moisture is coming from, whether the mold has spread beyond the visible area, and what needs to happen next to deal with it properly. It’s the first of the five steps in a full mold remediation process, and it’s the step everything else depends on — you can’t scope containment or removal accurately without first knowing what you’re dealing with.
In Singapore, this matters more than in drier climates. Between the humidity, frequent air-conditioning use, and poor ventilation in many bathrooms and kitchens, mold can establish new colonies within 24–48 hours of the right conditions appearing. An inspection is how you find out whether that’s already happened somewhere you haven’t noticed.
The property type also shapes what an inspector focuses on: bathroom exhaust and kitchen ventilation in HDB flats, shared walls and central air-con ducting in condos, and ground-floor rooms, roof spaces, and rain-exposed external walls in landed homes.
When Should You Book One?
You don’t need to inspect every faint smell in the house, but a professional inspection is worth booking when:
- You notice a musty or damp smell that doesn’t go away after cleaning or airing the room
- There’s a visible patch of discoloration on a wall, ceiling, or around a window that keeps returning after you wipe it
- Your home has had a past leak, flood, or water damage — even if it was “fixed” months ago
- You’re seeing condensation or dampness on windows, walls, or air-con units regularly
- A family member has unexplained respiratory symptoms (sneezing, coughing, irritated eyes) that seem worse indoors
- You’re buying or renting a property and want to check before committing
- You’ve had mold removed before and want to confirm it hasn’t come back in hidden areas
If none of these apply, routine prevention (ventilation, dehumidifying, quick cleanup of spills) is usually enough. An inspection becomes useful once there’s a specific reason to suspect a problem beyond the surface — and it’s worth checking the common signs of mold growth in Singapore homes first if you’re not sure whether what you’re seeing qualifies.
Step-by-Step: What Happens During a Mold Inspection
Here’s what to expect when a professional inspection is booked with a Singapore mold specialist.
Step 1: Initial Consultation and Walkthrough
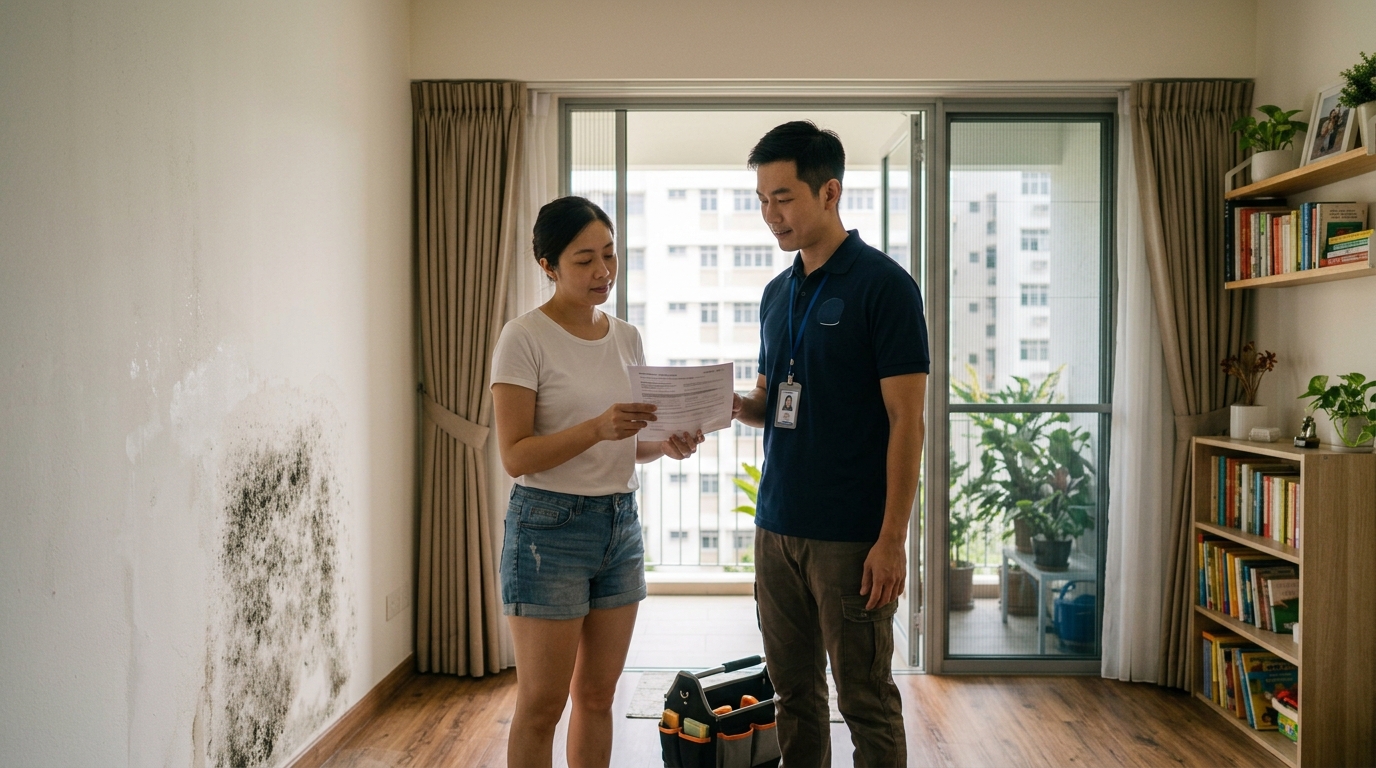
The inspector starts by asking about the history of the property — any past leaks, renovations, flooding, or recurring damp spots — and walks through the areas you’re concerned about. This context matters: a bathroom with poor ventilation is inspected differently from a bedroom wall that shares a party wall with a neighboring unit.
Step 2: Visual Assessment of Problem Areas
The inspector visually checks the areas you’ve flagged, plus common mold-prone spots that homeowners often miss — behind wardrobes, under sinks, around window frames, inside air-con units, and ceiling corners. They’re looking for discoloration, peeling paint, bubbling surfaces, and warped material, all of which can indicate moisture behind the surface even without visible mold. This step often draws on the same hidden places mold tends to grow that homeowners rarely think to check on their own — wall cavities, under flooring, and inside ducting.
Step 3: Moisture Meter Readings
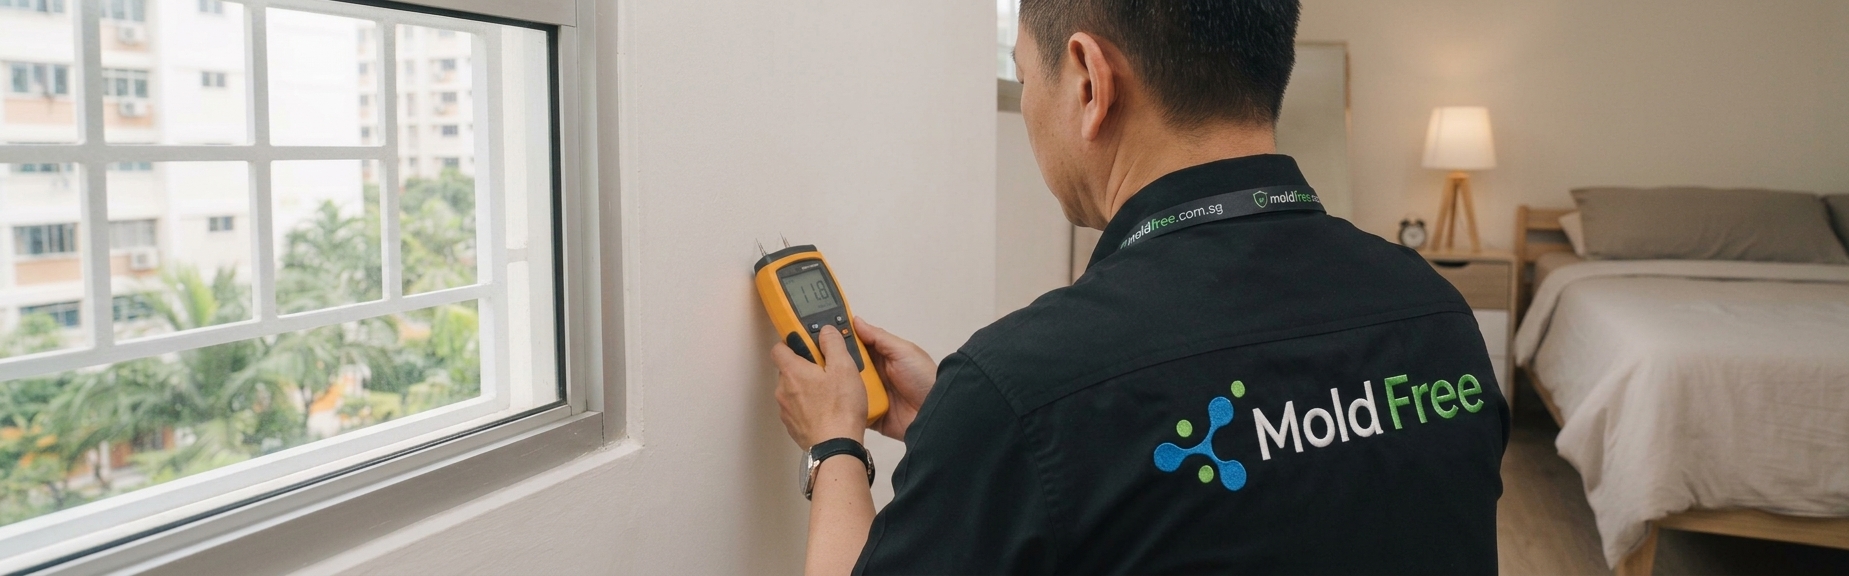
This is where the inspection moves beyond what the eye can see. A moisture meter measures the water content inside walls, flooring, and other materials by pressing sensor pins or a non-invasive pad against the surface. Elevated readings in a spot with no visible mold often mean growth is starting inside the material, not just on the surface — which changes how it needs to be treated. Readings are usually taken across multiple points in a room, not just the one spot you flagged, since moisture tends to travel further than the visible stain suggests.
Step 4: Thermal Imaging Scan
Thermal imaging cameras detect temperature differences across a surface. Damp areas typically read cooler than the surrounding dry material, which lets the inspector map out moisture patterns across an entire wall or ceiling in minutes — including areas hidden behind furniture or fixtures that would otherwise require opening up the wall to check. This is particularly useful for tracing a leak back to its source, since the cooler pattern on a thermal scan often points toward where water is entering rather than just where it’s pooling.
Step 5: Sampling (When Needed)
For cases where the visible evidence isn’t conclusive, or where the extent of contamination needs to be confirmed, air or surface sampling may be used to detect mold spores. This step isn’t always necessary — many inspections are conclusive from moisture readings and thermal imaging alone — but it’s available when a clearer picture is needed, such as when someone in the household has respiratory symptoms and you want to understand the indoor air quality impact more precisely, not just confirm mold is present.
Step 6: The Inspection Report
Once the assessment is complete, findings are compiled into a written report — typically delivered the same day as the visit, so you’re not left waiting days to find out what was found.
What’s Included in a Mold Inspection Report
A proper inspection report should give you more than “yes, there’s mold.” Look for:
- Locations checked, including both visible and hidden areas assessed
- Moisture meter and thermal imaging findings, room by room
- Likely moisture source — the underlying cause, not just where the mold appears
- Extent of the problem — whether it’s isolated or has spread further than expected
- Recommended next steps, whether that’s remediation, a repair to fix the moisture source, or simply monitoring
A report that only lists “mold found” without explaining the source or extent doesn’t give you enough to make a decision. The moisture source is the part that actually determines whether the problem comes back.
How Much Does a Mold Inspection Cost in Singapore?
The basic visual inspection is free. If moisture mapping or lab testing is needed to reach a clear conclusion, pricing generally follows these tiers:
| Inspection Type | Typical Cost | What’s Included |
| Basic visual inspection | Free | Walkthrough, visual assessment of flagged and common problem areas |
| Comprehensive inspection with moisture mapping | $200 – $500 | Visual assessment plus moisture meter and thermal imaging across the property |
| Inspection with lab/sample testing | $400 – $1,000+ | Comprehensive inspection plus air or surface sampling for spore analysis |
Most residential concerns start with the free visual inspection, and move to the comprehensive tier only if moisture mapping is needed to pin down the actual source. Lab testing is the exception, reserved for cases where the evidence still isn’t conclusive. Book your free inspection to get started.
What Causes the Mold an Inspection Finds
Every inspection traces the same underlying issue: moisture meeting an organic surface with warmth and still air. Understanding what causes mold growth in Singapore homes helps you interpret the report — a reading near a window usually points to condensation, while one near a bathroom wall more often points to ventilation or a plumbing issue. The inspector’s job is to connect the reading to a specific, fixable cause, not just a location.
DIY Check vs Professional Mold Inspection
Many homeowners start by checking things themselves, which is reasonable for visible, accessible areas. The table below shows where a DIY check falls short.
| DIY Check | Professional Inspection | |
| Visible mold on accessible surfaces | Can identify | Can identify |
| Mold behind walls, under flooring, in ducting | Cannot detect | Detected via moisture meter and thermal imaging |
| Moisture source identification | Guesswork | Measured and documented |
| Extent of spread | Unknown | Mapped across the property |
| Written documentation | None | Formal report, useful for landlords, agents, or insurance |
| Best suited for | Quick visual check of an obvious spot | Recurring issues, past water damage, pre-purchase checks, health concerns |
A DIY check is a reasonable first step. It just can’t tell you what’s happening inside a wall cavity or under a floorboard — usually where a “why does this keep coming back” problem actually comes from.
How Long Does a Mold Inspection Take?
A typical residential inspection takes about 1–2 hours. A single flagged room in an HDB flat or condo unit tends to sit at the shorter end; a full landed home with multiple problem areas takes longer. Either way, it’s completed in one visit, with the written report following the same day.
What to Look for in a Mold Inspection Provider
Not every inspection is equally thorough, so it’s worth knowing what separates a useful one from a rushed visual check:
- Uses actual detection tools (moisture meters, thermal imaging), not just a walkthrough and a guess
- Provides a written report, not just a verbal summary
- Explains the moisture source, not only where mold is visible
- Gives you a clear next step, whether that’s remediation, a repair, or simply monitoring
- Doesn’t pressure you into remediation if the inspection doesn’t support it — an inspection should inform your decision, not just lead to a sale
- Meets recognized safety and competency standards — Mold Free’s inspectors, for example, hold bizSAFE STAR certification, Singapore’s top-tier workplace safety accreditation
A trustworthy provider treats the inspection as a diagnostic step, not a formality before quoting you for work.
How to Prepare for a Mold Inspection
A few simple steps make the visit more useful:
- Note down where you’ve noticed smells or discoloration, even if they’ve since faded
- Avoid cleaning or painting over suspicious areas beforehand — this can hide evidence the inspector needs to see
- Clear access to problem areas, such as moving items away from walls or emptying a cluttered storage space
- Mention any past leaks or renovation work, even if unrelated to the current concern
- List any health symptoms household members have noticed, and when they started
None of this is mandatory, but it helps the inspector work faster and more accurately.
What Happens After the Inspection
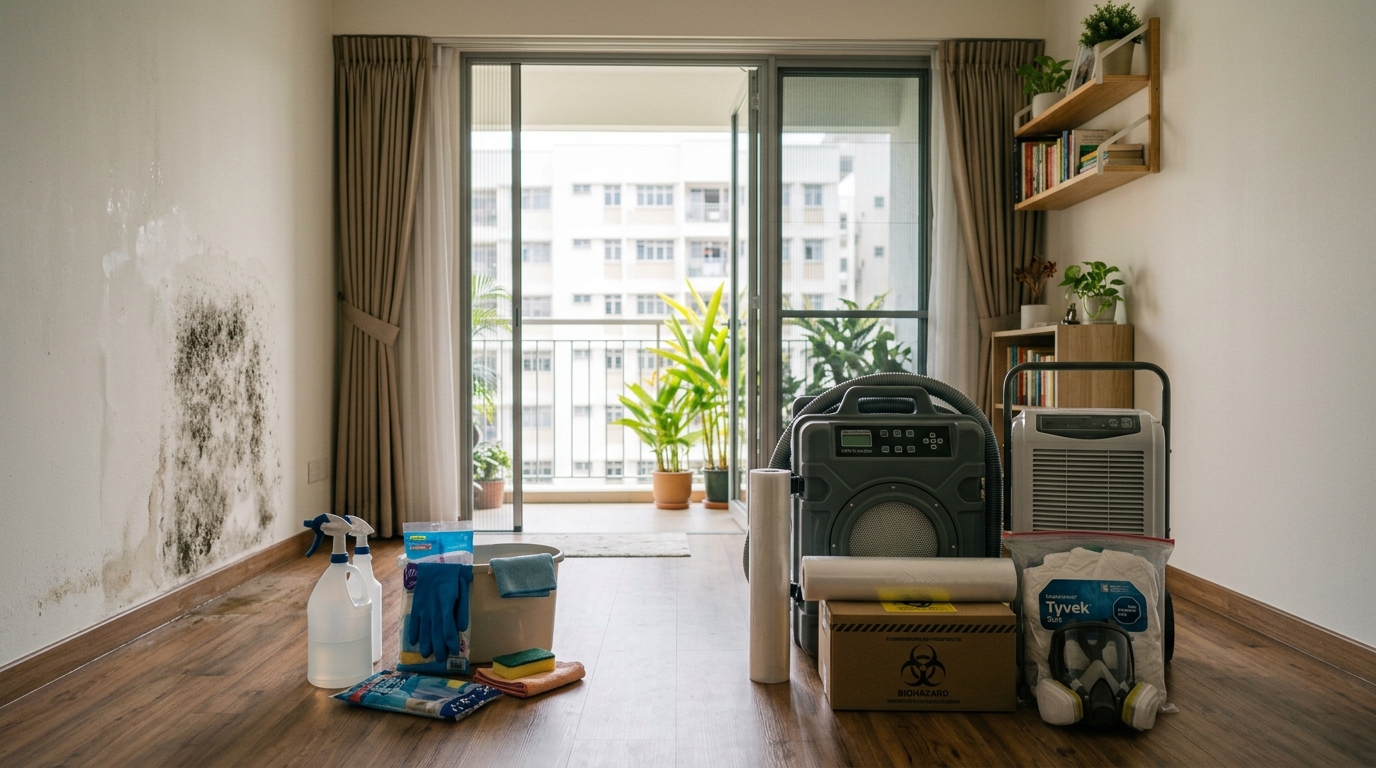
If mold is confirmed, the inspection is the first of five steps in a full mold remediation process: inspection, containment, removal, cleaning and sanitization, and prevention. The report from your inspection is what determines how the remaining steps are scoped — which areas need containment, how extensive the removal needs to be, and what prevention measures address the actual moisture source.
Containment stops spores spreading while work is underway; removal eliminates the mold from affected materials; cleaning and sanitization prevents regrowth from residual spores; prevention addresses the root cause — a ventilation fix, a leak repair, or a dehumidifying strategy.
If the inspection comes back clear, or only flags a minor issue you can manage yourself (like improving ventilation in a bathroom), that’s useful information too — it means you can rule out a bigger problem without paying for remediation you don’t need. Either way, you’re making that decision based on measured findings instead of a guess.
FAQs About Mold Inspection
1. Is a mold inspection the same as mold testing?
Not quite. An inspection is a physical assessment of the property — visual checks, moisture readings, and thermal imaging — to find and map mold and moisture. Testing usually refers to lab sampling of air or surfaces to identify specific mold species or spore counts. Many inspections don’t need lab testing to reach a conclusion; it’s used selectively when the visible evidence isn’t clear enough. See our full comparison of mold inspection vs mold testing if you’re deciding between the two.
2. Do I need a mold inspection if I can already see the mold?
It’s still worth it if the mold keeps coming back after cleaning, covers a large area, or you’ve had past water damage. Visible mold is often just the part you can see — an inspection checks whether it has spread into the wall cavity or nearby areas that a wipe-down won’t reach.
3. Can a mold inspection detect mold I can’t see?
Yes. Moisture meters and thermal imaging are specifically used to find dampness and likely mold growth behind walls, under flooring, and in other concealed spaces that a visual check alone would miss.
4. Does Mold Free offer free mold inspections?
Yes — the basic visual inspection is free. A fee only applies if you need the comprehensive tier (moisture mapping and thermal imaging) or lab/sample testing to reach a clear conclusion.
5. How much does a mold inspection cost in Singapore?
The basic visual inspection is free. Where more is needed, it’s roughly $200–$500 with moisture mapping, and $400–$1,000+ with lab testing.
6. Will the inspector tell me what’s causing the mold, not just where it is?
A thorough inspection report should identify the likely moisture source — such as a leak, condensation, or poor ventilation — not just the location of the mold itself. If a report only tells you where the mold is without explaining why it’s there, ask for that detail.
7. What should I do if the inspection finds mold?
The report should include recommended next steps, which typically means moving into containment and removal if the growth is significant, or simple fixes like improving ventilation if it’s minor. Your inspection report is the basis for scoping whatever comes next.
8. How often should HDB or condo owners get a mold inspection?
There’s no fixed schedule — it depends on your property’s history. Homes with past leaks, units with poor ventilation, or ground-floor and high-humidity units may benefit from a periodic mould check, while most homes only need one when a specific concern comes up.
Home Health & Mold Tips
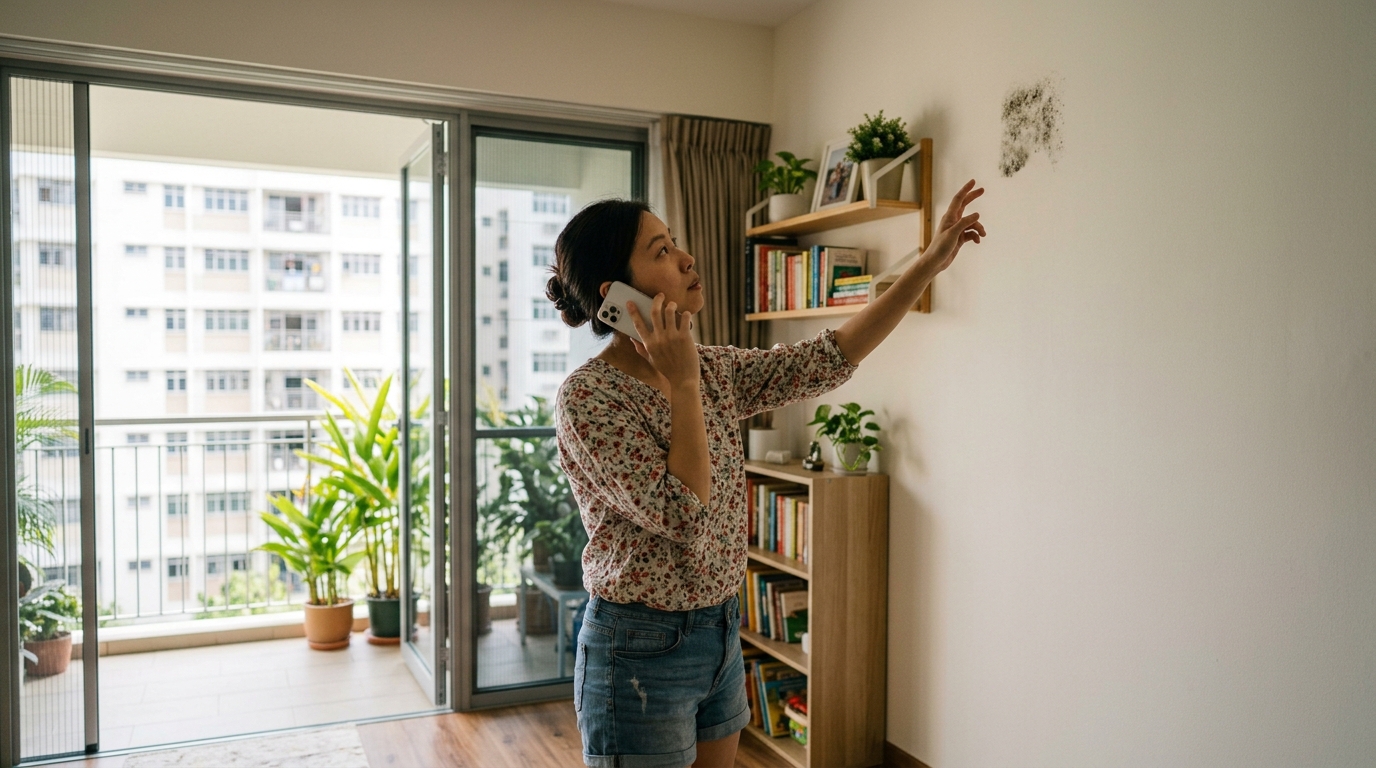

If a musty smell keeps coming back or you’ve spotted a damp patch that won’t dry out, a professional mold inspection is the fastest way to find out what’s actually going on behind the wall — before you spend money guessing. The basic visual inspection is free. Book your free mold inspection and get a same-day assessment report.