Choosing between DIY mold removal and hiring a professional comes down to more than just cost. This article compares what each approach actually involves, where DIY genuinely holds up and where it tends to fall short, the common mistakes that make DIY attempts less effective than they seem, and a practical framework for deciding which approach fits a specific situation.
Table of Contents
What DIY Mold Removal Actually Involves
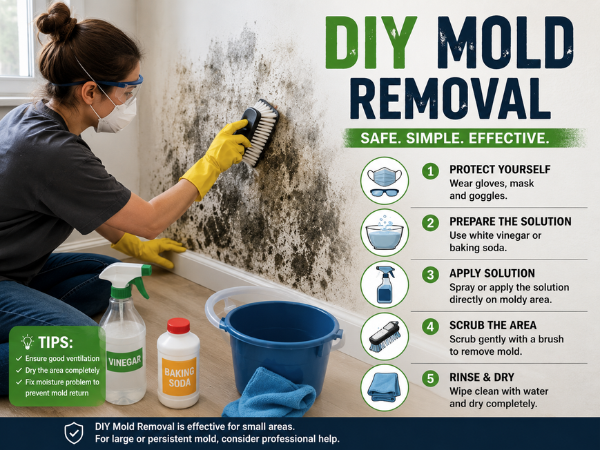
DIY mold removal typically means cleaning visible mold using household products — diluted bleach, vinegar, commercial mold-cleaning sprays, or similar solutions — applied directly to the affected surface, followed by drying and, sometimes, a coat of mold-resistant paint. It generally doesn’t include any formal moisture-source diagnosis, containment to prevent spore spread, or treatment of material beneath the visible surface. The scope is, by design, limited to what’s visible and physically accessible without specialized equipment.
In practice, a typical DIY attempt follows a fairly consistent pattern: notice the mold, apply a cleaning solution, scrub or wipe the area, let it dry, and consider the job done once the visible discoloration is gone. This works reasonably well for exactly the situations it’s suited to, but it’s worth being clear-eyed that “the visible mold is gone” and “the mold problem is resolved” aren’t always the same thing, particularly on porous surfaces or when the underlying moisture hasn’t been addressed.
What Professional Mold Removal Actually Involves
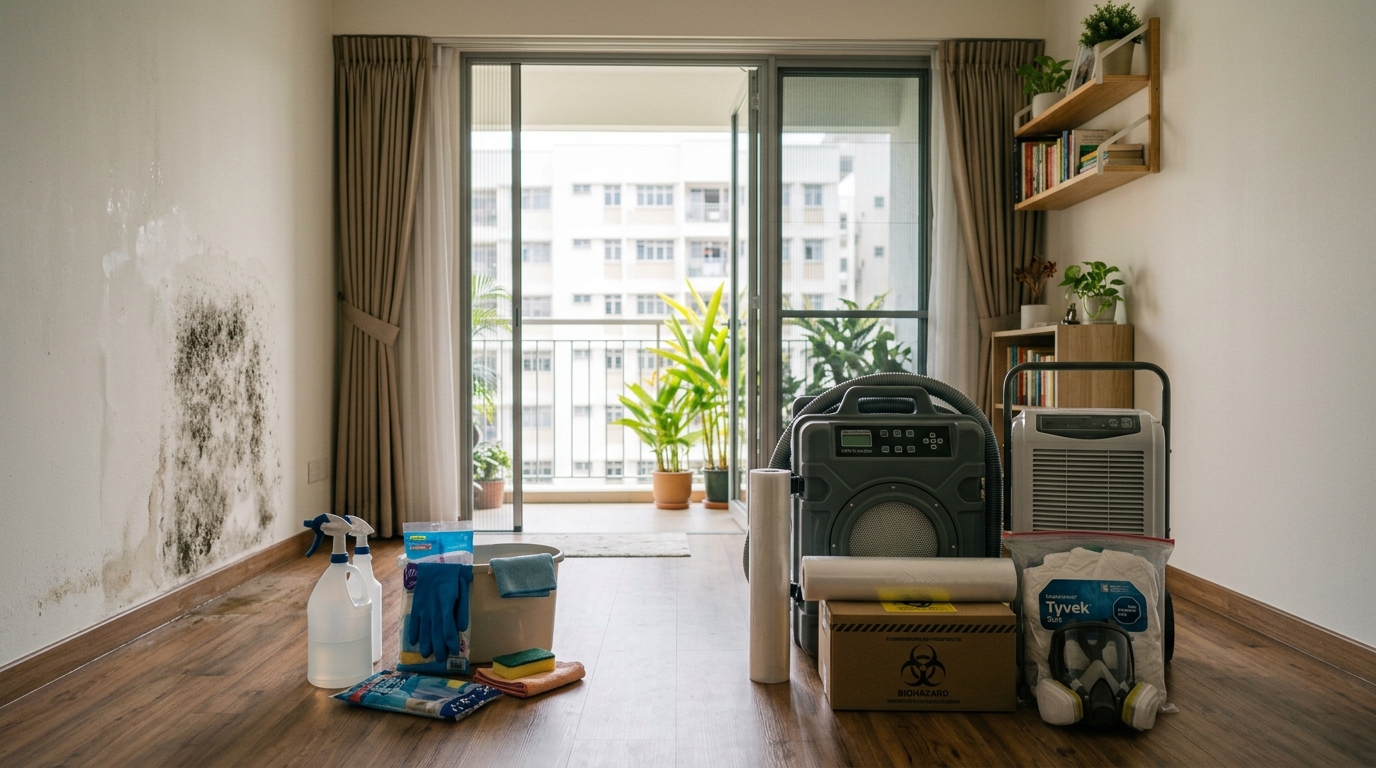
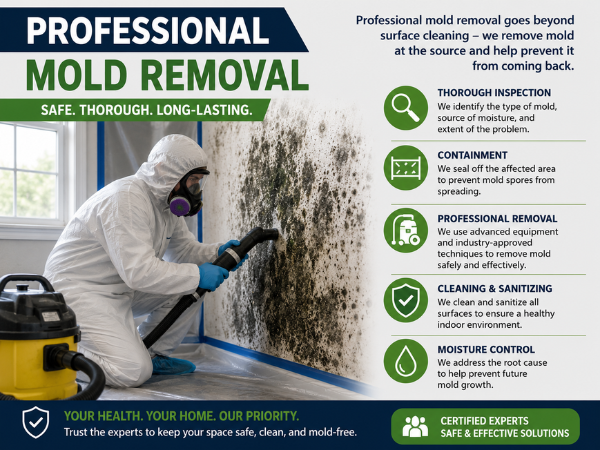
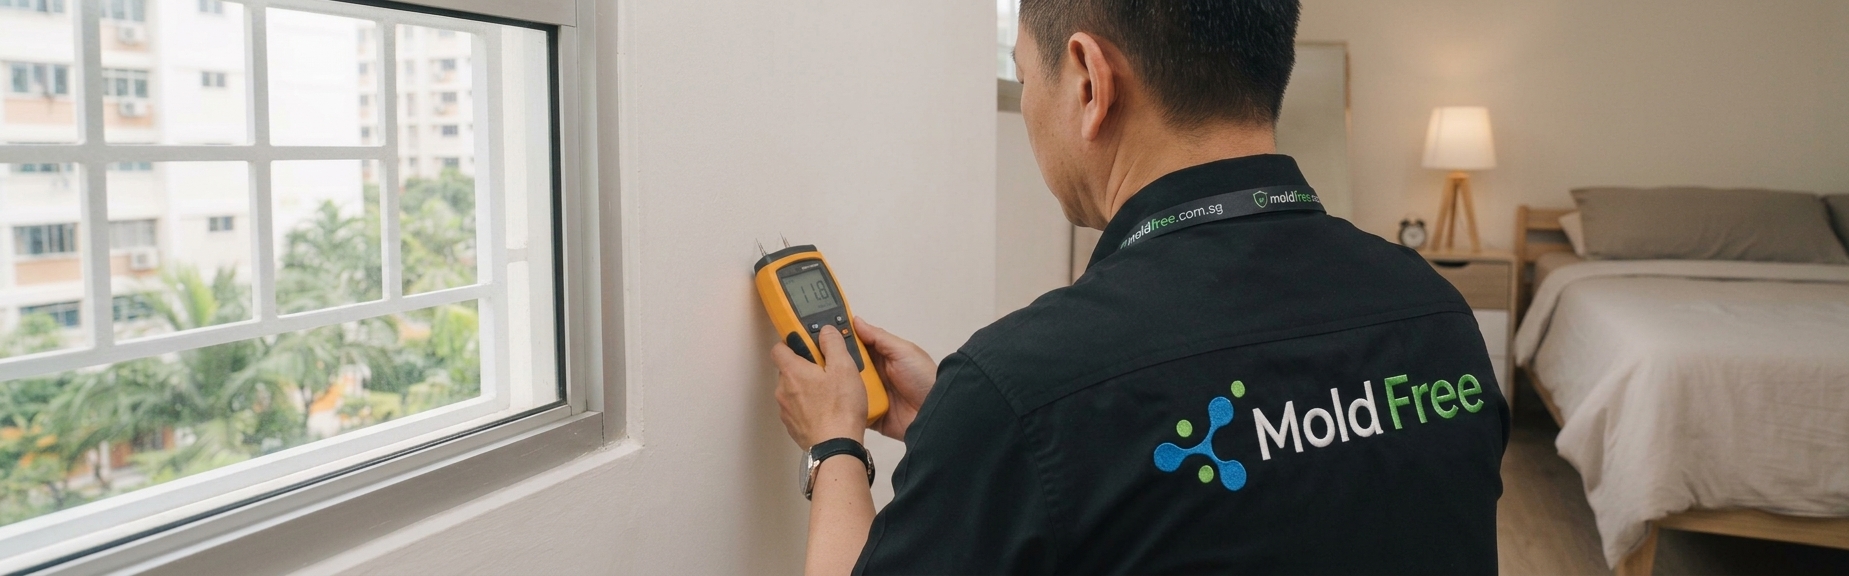
A professional process typically starts with an inspection using tools like moisture meters and thermal imaging to identify both the extent of the mold and its underlying cause, followed by containment to prevent spores from spreading to unaffected areas, treatment of the mold itself (which may include material beneath the surface, not just what’s visible), cleaning and sanitization of the surrounding area, and prevention measures such as anti-mold coatings or humidity control recommendations. The scope is built around addressing the full problem, not just the visible symptom — see the difference between mold removal and remediation for the terminology behind this.
This process is structured the way it is because each step addresses a specific gap that DIY cleaning tends to leave open: the inspection identifies what a visual check alone would miss, containment prevents the cleaning process itself from spreading spores further, and material-level treatment addresses growth that’s already established beyond the surface. None of these steps exist for their own sake — each one closes a specific failure mode that shows up repeatedly in DIY attempts that don’t fully resolve the problem.
If you’re unsure which approach fits your situation, describing what you’re seeing is often enough to get a clear answer before you decide. Get a quote from Mold Free.
Safety Considerations for DIY Attempts
Beyond effectiveness, there are some practical safety considerations worth being aware of before attempting DIY cleaning. Disturbing mold, especially through scrubbing, can release spores into the air, which is more of a concern for anyone with asthma, allergies, or respiratory sensitivity in the household. Basic precautions — wearing gloves and a mask, ventilating the room well, and avoiding mixing different cleaning chemicals (some combinations can produce harmful fumes) — are worth following even for small, straightforward jobs. For larger areas or anyone in a higher-risk group, these safety considerations are part of why professional treatment, with proper containment and protective equipment, becomes more appropriate rather than just a matter of preference.
Side-by-Side Comparison
| DIY | Professional | |
| Moisture source diagnosis | Not typically included | Included as a standard first step |
| Containment during cleaning | Rarely used | Standard practice for anything beyond a trivial patch |
| Treatment below the surface | Not possible with household methods on porous materials | Available, including material-level treatment where needed |
| Equipment | Basic cleaning supplies | Moisture meters, thermal imaging, air scrubbers, specialized treatments |
| Time investment | Homeowner’s own time, often over multiple attempts if recurrence happens | A scheduled, typically single visit or short project |
| Recurrence risk | Higher, particularly if the cause isn’t addressed | Lower, particularly with a warranty-backed process |
| Cost | Lower upfront, potentially higher over time with repeat attempts | Higher upfront, often lower over time if it resolves the problem in one pass |
Where DIY Genuinely Holds Up
DIY cleaning is a reasonable option for small, isolated patches on hard, non-porous surfaces — tile, glass, painted concrete — where the cause is clear and has already been addressed. In these situations, the scope of what DIY can achieve (removing visible surface mold) actually matches what the situation needs, since there’s no reason to suspect growth beyond what’s visible or a moisture source that hasn’t been resolved.
Where DIY Tends to Fall Short
DIY struggles in situations that require diagnosis or access beyond what a household cleaning routine can provide: mold on porous materials, where growth often extends beneath the surface; mold that keeps returning, which points to an unresolved moisture source that cleaning alone can’t identify; mold in hard-to-access areas like wall cavities or ceiling voids; and any situation where the underlying cause isn’t already obvious and fixed. In these cases, DIY cleaning tends to address the symptom repeatedly without ever resolving the actual problem.
Common DIY Mistakes
- Cleaning without addressing the moisture source — Removing visible mold without fixing what actually caused it, leading to predictable recurrence
- Using bleach on porous materials — Bleach can lighten the appearance of mold on porous surfaces like drywall without actually killing growth beneath the surface, creating a false impression the problem is resolved
- Scrubbing aggressively — Vigorous scrubbing can release more spores into the air rather than containing them, potentially spreading the problem to nearby areas
- Painting over mold — Painting over an affected area without properly treating it first traps the mold rather than resolving it, and it often resurfaces through the new paint later
- Underestimating how far mold has spread — Treating only the visible portion of a patch that has actually extended further into a wall or floor cavity
- Mixing cleaning chemicals — Combining products like bleach and ammonia-based cleaners can produce harmful fumes, and this risk is easy to overlook when reaching for whatever’s under the sink
- Stopping at “it looks clean” rather than confirming the cause is resolved — Visual improvement doesn’t confirm the underlying moisture issue has actually been addressed, which is why recurrence within a short period is common even after a seemingly successful DIY clean
Cost: What You’re Actually Comparing
DIY cleaning has a lower upfront cost, generally just the price of cleaning products. But this comparison misses a common pattern: if the underlying cause isn’t identified and addressed, mold often returns, leading to repeated DIY attempts over time, each with its own time and product cost, without ever resolving the problem. Professional treatment has a higher upfront cost, but for situations that genuinely need it, it’s addressing the full problem in one process, often backed by a recurrence warranty — meaning the real cost comparison isn’t “cheap DIY vs. expensive professional,” but “possible repeated cost over time vs. a single, more complete cost upfront.” For actual professional pricing ranges and what drives them, see our dedicated guide to mold removal costs in Singapore.
Can You Combine Both Approaches?
Yes, and this is often the most practical framing rather than treating it as a strict either-or choice. DIY approaches — good ventilation habits, prompt cleanup of minor condensation, addressing small, isolated, clearly-caused patches — are reasonable ongoing prevention practices even in a home that’s had professional treatment done for a larger problem. The distinction isn’t “DIY is for people who can’t afford professionals” versus “professional is for serious cases” — it’s better understood as DIY being suited to prevention and minor, well-understood situations, while professional treatment is suited to diagnosis, larger problems, and situations where the cause isn’t already clear.
A Practical Decision Framework
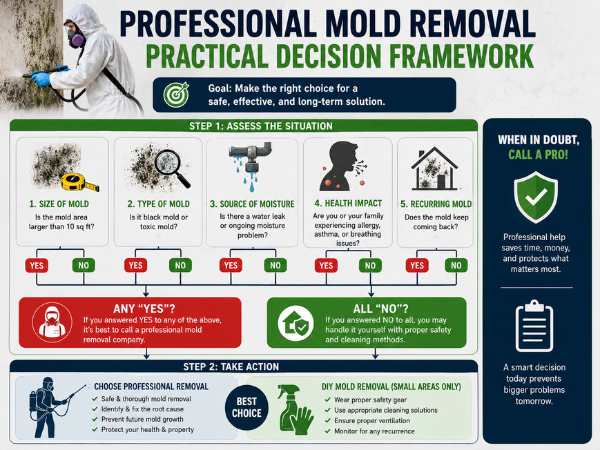
Ask these questions in order:
- Is the affected area small and on a hard, non-porous surface? If no, lean professional.
- Is the cause already identified and resolved? If no, lean professional.
- Has this exact spot been cleaned before and returned? If yes, lean professional.
- Is there any smell or symptom suggesting the problem extends beyond what’s visible? If yes, lean professional.
If you answered in favor of DIY on all four, careful DIY cleaning is a reasonable starting point, with the understanding that it should be treated as a resolved test rather than a guaranteed fix — if it returns, that’s the signal to move to professional mold treatment.
A Few Real-World Scenarios
Scenario 1: Small ceiling spot in a windowless bathroom, first time noticed. If the spot is small and hard-surfaced, and improving ventilation (running the exhaust fan longer, opening the door after showers) addresses the likely cause, DIY cleaning combined with the ventilation fix is a reasonable first step, monitored over the following weeks. See our ceiling mold guide for more on why ceilings behave differently from other surfaces.
Scenario 2: Bedroom wall mold that’s returned twice after cleaning. This matches the “returned after cleaning” and often the “porous material” signals covered in our guide to why mold appears on walls. At this point, continuing to clean the same spot is unlikely to resolve anything, since the pattern itself indicates an unaddressed moisture source, likely warranting a professional inspection.
Scenario 3: Musty smell in a room with no visible mold anywhere. Without a visible target, DIY cleaning has nothing to actually clean — the mold is likely in one of several hidden places mold can grow. This is one of the clearer cases where professional tools — moisture meters, thermal imaging — provide something DIY simply can’t.
Scenario 4: Mold following a burst pipe that’s already been repaired. Even with the leak fixed, water damage situations often involve more spread than what’s visible, and professional assessment of the full affected area, along with proper drying, is generally the more reliable path forward. Our guide to how long mold removal takes covers what to expect timeline-wise in a case like this.
FAQs
1. Is DIY mold removal ever a bad idea, even for small patches?
generally not, provided the patch is small, on a hard surface, and the cause is already resolved. DIY becomes a poor fit specifically when those conditions aren’t met, not as a blanket rule.
2. Why does mold sometimes come back after DIY cleaning even when it looked fully removed?
this usually means either the underlying moisture source wasn’t addressed, or the mold had already spread into the material beneath the visible surface, which household cleaning methods can’t reach.
3. Is bleach an effective way to remove mold?
Bleach can be effective on hard, non-porous surfaces, but on porous materials like drywall, it often only bleaches the visible color without killing mold beneath the surface — which can create a false impression the problem is resolved, especially with darker-colored mold where the bleaching effect is more noticeable.
4. Does professional mold removal cost significantly more than doing it myself?
Upfront, yes. But the more relevant comparison is total cost over time — DIY costs can add up with repeated attempts if the cause isn’t resolved, while professional treatment is typically a single, more complete cost, often with a warranty against recurrence.
5. Can I do some prevention myself even if I’ve had professional treatment done?
yes. Good ventilation habits, prompt handling of minor condensation, and monitoring the treated area are reasonable ongoing practices that support professional treatment rather than replace it.
6. What’s the biggest risk of choosing DIY for a problem that actually needed a professional?
The main risk is that the visible symptom gets addressed repeatedly while the underlying cause — and any mold that’s spread beyond what’s visible — continues, which can allow the problem to become more extensive over time.
7. Is it safe to do DIY mold cleaning if someone in the household has asthma or allergies?
It’s worth extra caution in this situation. Disturbing mold can release spores into the air, which can affect sensitive individuals more than the mold sitting undisturbed. For households with these sensitivities, professional treatment with proper containment is generally the more comfortable option, even for smaller patches.
8. How do I know if my DIY cleaning attempt actually worked, or just looks like it worked?
Time is the best indicator. If the area stays clear for a few weeks without any new signs (discoloration, smell, or dampness returning), that’s a reasonable indication it worked — it helps to know the common visible signs of mold growth so you catch a recurrence quickly. If it returns within a short period, that’s a sign the underlying cause wasn’t actually resolved.
Healthy Home Guides
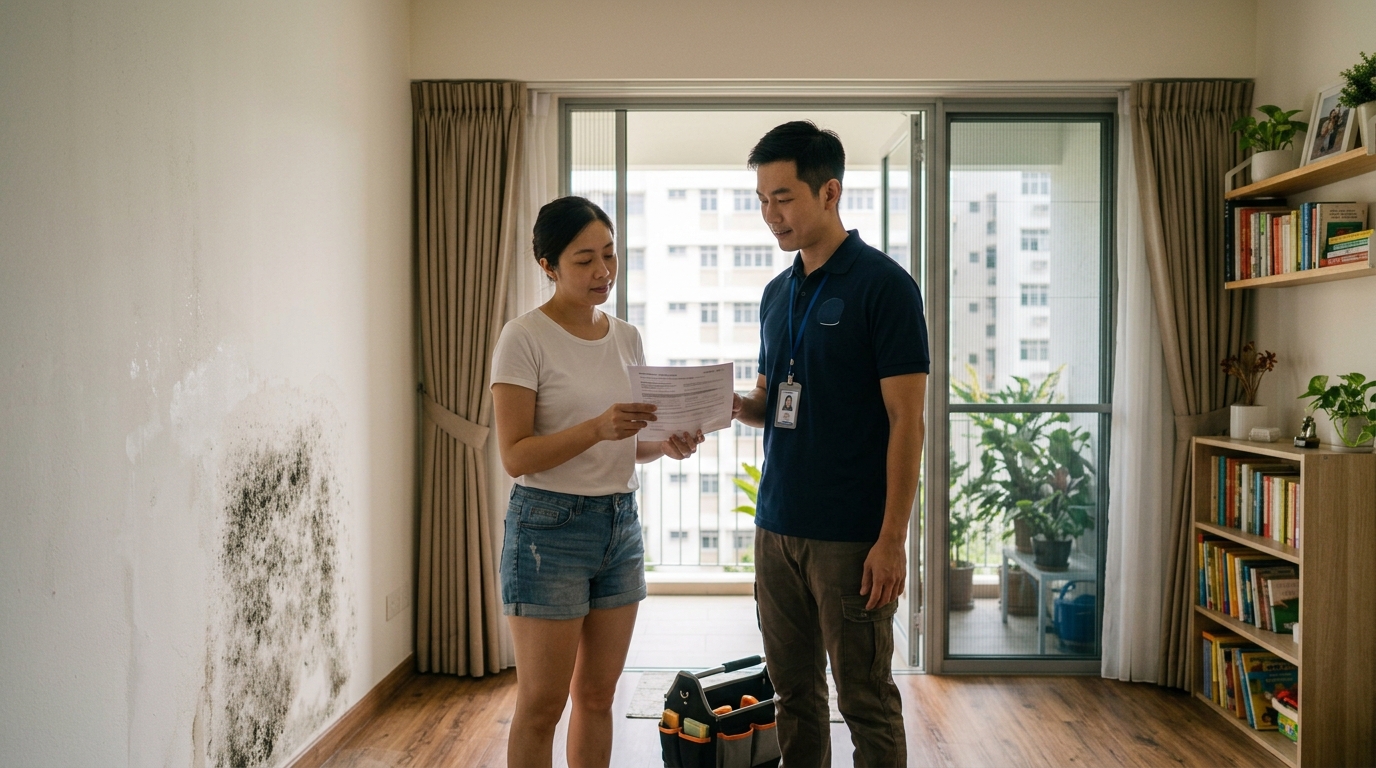
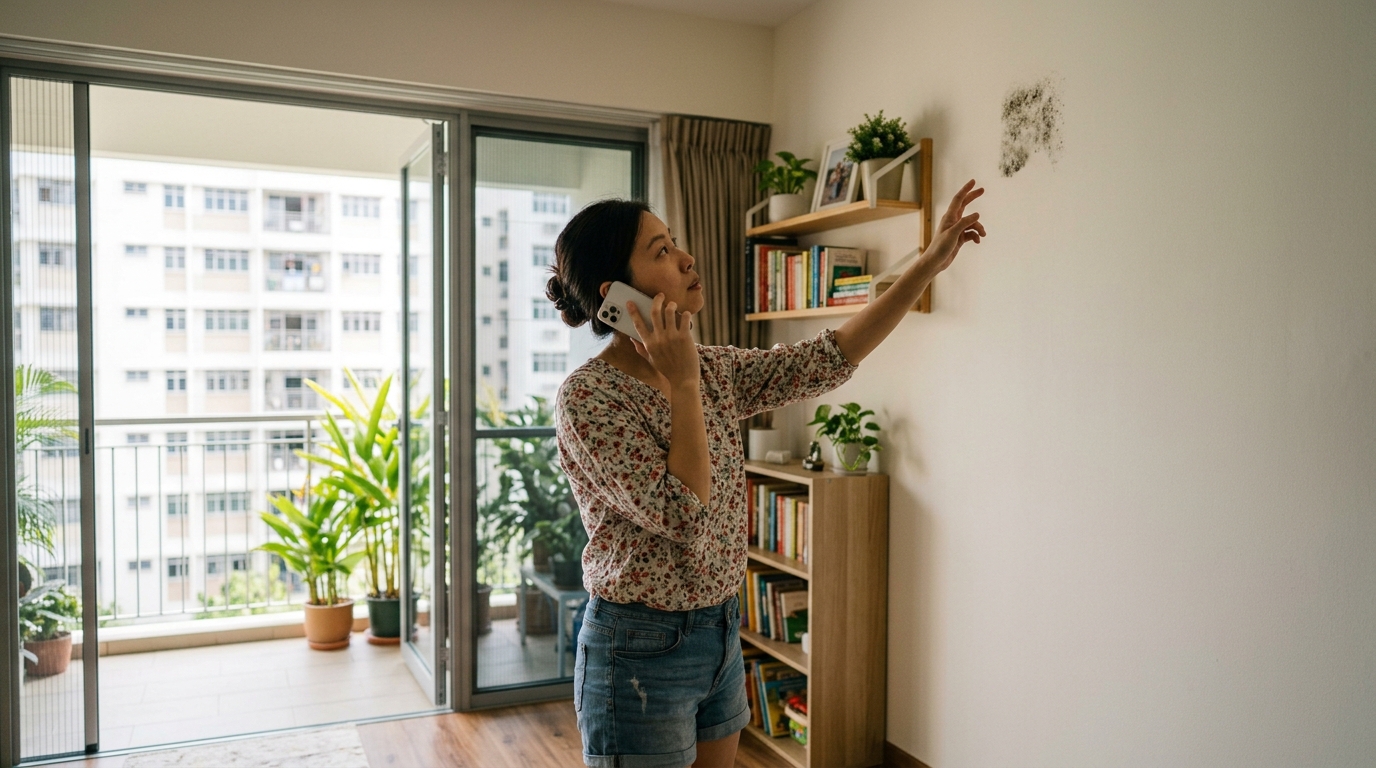

If you’re unsure whether your mold problem can be safely handled yourself, don’t risk letting it spread or return. A professional inspection can help you understand the extent of the problem and whether professional remediation is necessary.